
I Messed Up Rice So Many Times—Until I Learned This
How to cook rice in a pressure cooker used to be a mystery to me. It sounds simple, right? Just rice, water, and pressure. But somehow, I either ended up with a soggy mess or burnt bits stuck to the bottom. I’ve opened that lid to disappointment more times than I’d like to admit 😅
And here’s the worst part — no one talks about how emotionally deflating it feels when something as basic as rice doesn’t turn out right. Especially when you’re tired, hungry, and just trying to make a decent meal.
But then I figured it out.
It wasn’t my fault. I was using the wrong tools, wrong water ratio, wrong timing. I tweaked, tested, failed, and finally found the method that works every single time. Whether you’re using white rice, brown rice, or even basmati — this guide is for you ❤️
In this post, I’ll show you exactly how to cook rice in a pressure cooker like a pro. No guesswork. Just perfect, fluffy rice — every time.
Contents
1. Why Use a Pressure Cooker for Rice?
If you’re wondering how to cook rice in a pressure cooker and whether it’s even worth it, let me be super clear: YES. It’s faster, uses less water, and retains more nutrients. And honestly? It saves so much mental energy.
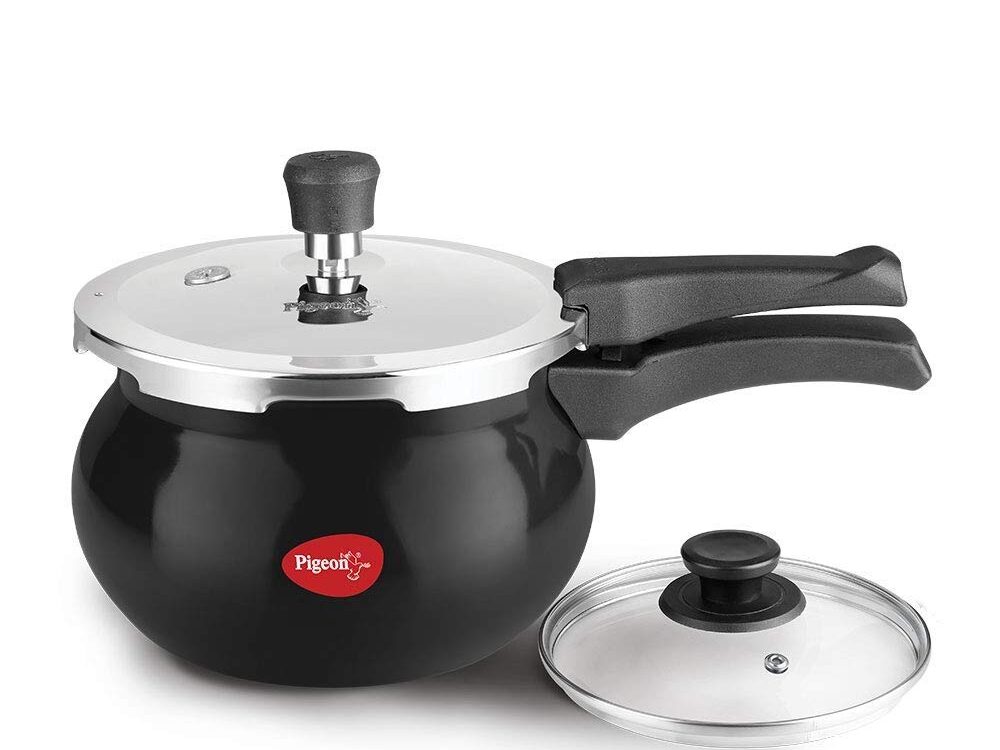
I use a bold stainless steel pressure cooker because it cooks evenly and lasts forever. No weird burnt smell, no half-cooked grains.
Also, no need to babysit it like you would with a saucepan. You just set it and forget it. Magic.
2. My Foolproof Rice-to-Water Ratio
This part is critical. I ruined rice for years because I thought “more water = softer rice.” Nope.
Here’s what works every time (for 1 cup of rice):
- White rice: 1 cup rice + 1.5 cups water
- Brown rice: 1 cup rice + 2.25 cups water
- Basmati rice: 1 cup rice + 1.75 cups water
Want perfectly fluffed rice? Wash it until the water runs clear. Trust me — this small step makes a huge difference.
3. How to Cook Rice in a Pressure Cooker (Step-by-Step)
Let me walk you through how I do it — this routine never fails me.
- Wash your rice thoroughly using a deep cleaning kitchen cloth to avoid starch buildup in your cooker.
- Add the washed rice and water into the pressure cooker.
- Optionally, add a few drops of oil or ghee — this helps prevent stickiness.
- Close the lid tightly.
- Cook on medium flame until you hear 1–2 whistles for white rice or 3–4 for brown rice.
- Turn off the heat and let the pressure release naturally.
Do not open the lid until the pressure drops on its own. Your patience will be rewarded!
4. Mistakes You Might Be Making (And How to Fix Them)
These are all mistakes I’ve made and fixed over time:
- Too many whistles = mushy rice.
- Didn’t rinse = sticky, gluey rice.
- Opened too early = undercooked grains.
- Used aluminum cooker = burnt flavor (I now use a non-stick inner pressure pot and love it).
If you’ve had any of these problems, it’s okay. You’re learning. That’s how I got here too 💪
5. Which Pressure Cooker Is Best for Rice?
There are SO many options, but here’s what I personally use:
- A 3-liter stainless steel cooker (great for 2–4 people)
- With a non-stick pressure cooker insert
- And a soft silicone gasket for easy sealing
If you’re cooking larger batches, go for a 5-liter induction base cooker — it works beautifully with brown rice and pulao.
I also keep a grease-cutting kitchen spray handy because pressure cookers are easier to clean when you handle grease right after cooking.
6. Tips for Specific Rice Types
Let’s get into the details — because different rice needs different love ❤️
🍚 Basmati Rice
- Soak for 20 minutes before cooking.
- Add a little salt and 1 tsp ghee — gives restaurant-like aroma.
- Use a rice cooking steamer insert for no-stick results.
🍚 Brown Rice
- Needs longer soaking (30 minutes at least).
- More water and whistles — patience pays off.
- Goes great with curries and lentils!
🍚 Jeera Rice or Pulao
- Sauté spices like jeera, bay leaf, and cloves before adding rice.
- Finish with a sprinkle of coriander once done.
7. Final Words from One Rice-Lover to Another
Cooking rice in a pressure cooker used to intimidate me. But now? It’s part of my daily rhythm. I don’t overthink it anymore — and that’s such a relief.
So if you’re still nervous, try it once the way I shared above. You’ll see the difference. The fluffiness. The time you save. The confidence you feel when you open that lid and see perfect rice 👌
And hey — if you’ve got your own little tricks, send them my way. I’m always up for learning something new in the kitchen.